Quick links:
Cyberware scans under Lightwave
Keywords: Cyberware Lightwave UV PLY LWO OBJ
I've been using Lightwave since November 1998, starting with version 5.6 for
Intel. One application I have found for Lightwave is visualization of
Cyberware scans. Briefly, the Cyberware
is a laser scanning device that can scan 3D objects by rotating around them.
This produces a high-resolution triangle mesh (the triangles are in vertical
strips) as well as a color texture map (at least under SGI platforms; not
under Windows as far as I know). The texture map is usually in the SGI RGB
format; the mesh can be converted using the echo.tk program into a PLY file,
which can then be converted to other formats, including DXF, OBJ, 3DS, and
some raw formats.
So how does one take one of these meshes and its texture map and load them together into Lightwave? The answer I provide below is meant for Lightwave 6.5, although there are tricks (using the Morph Gizmo) to use earlier versions of Lightwave. The basics here will apply; the trick is getting UV mapping to work in 5.6 (or prior), which others have done.
First things first. The texture map is registered to the vertices on the original 3D mesh. In other words, it is necessary to do a UV mapping of the texture onto the mesh for it to turn out properly. If the mesh is modified before the texture is applied, the two may not line up. Therefore, the conversions that are done to the mesh should be kept to a minimum. Further, whatever format the mesh is converted into should support UV maps (the Alias|Wavefront OBJ file does). It is not enough to simply do a cylindrical texture map, even though the Cyberware scans a cylindrical shell.
With 5.6, I was able to get close to a good mapping using a cylindrical texture map, but it required using a reference object on the texture and a lot of tweaking to make it look right; even then, it was usually only possible to get one side of the object (usually a face) to work out. Under 6.5, using UV maps, this can be done precisely.
First, convert the Cyberware mesh into an OBJ file. It may be necessary to first convert the mesh into the PLY format, then use a utility like ply2obj (provided by Cyberware if you look in their utilities page). The OBJ file will contain the information needed to do the UV mapping. Next, convert the texture map into a Lightwave-friendly image format (I recommend either TARGA (.tga) or PNG (.png); these are lossless, but PNG is probably smaller). This can be done with a number of utilities; if using an SGI under IRIX, or have access to a UNIX system, the convert program that comes with Image Magick is quite good. The GIMP is good as well, and versions can be found for Windows. These, at least, are the free solutions.
Next, load the OBJ file into Lightwave's Modeler. This doesn't require anything special; just change the file filter on the Open File... requester to "All Files" and select the .obj mesh. Load the texture map image through the Image Editor. Then, for the most part, follow the directions in the Lightwave docs for applying the texture map to the mesh. The quick steps are: in the lower right corner of Modeler, select "T", then in the pull-down, select the "OBJ_UVTextureMap" (or whatever) that appears there. Assign a surface name to the mesh (hit 'q', type a name, click 'OK'). Open the Surface Editor, select the surface you just named, then click the 'T' that corresponds to the color (just to the right of the Color box). Under "Projection", switch from "Planar" to "UV", then in the two boxes that change below, select "OBJ_UVTextureMap" or whatever under UVMap, and under "Image", select the texture map image.
That, at least, should get you close. This works for simple objects, but your mileage may vary. One of these days, I may write a plugin that reads the raw scan data and texture map and merges them into a single LWO.
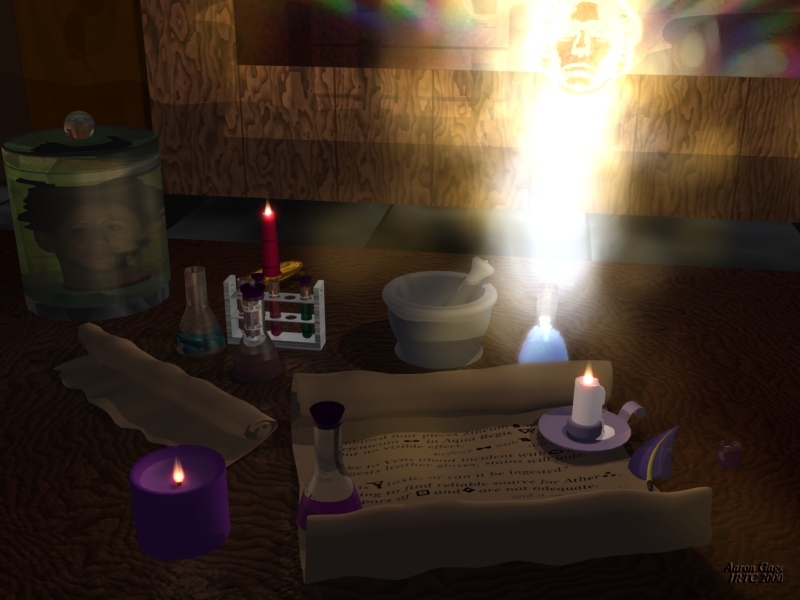
Not to toot my own horn (well, this is my own web page, so it is allowed), but I used a Cyberware head scan in one of my images for the IRTC. I mention this since the description of that image was one of the few matches I found when trying to solve this problem. That image relied on cylindrical texture mapping, which works for the front of the face, but it tends to ruin the ears (but it's good enough for a head in a jar).
After discovering the notlame encoder and cdparanoia, I decided that I'd like to make an archive of my CD collection, in such a way that I could build playlists spanning any and all albums, stream the music to where I work, and possibly build a database of the tracks in order to make automatic generation of playlists possible. Later, I decided that such a machine would also be well-suited for DVD playback. This section describes my findings. Please note that part of the purpose of this exercise was to generate a high-quality archival backup of my music collection, just in case, but that I don't distribute these files, and that my icecast streams are private. I do not advocate piracy, and the actions described here fall well under fair use.
Ripping 70+ CDs (not many, I know) took about a month using a combination
of cdparanoia and notlame. I highly recommend visiting
r3mix.net for
information on getting the best quality backups of your discs. To sum
things up, I wrote a program that would read a text file that I wrote for
each album (containing album information and track lists) and run
cdparanoia and notlame, assigning
the ID3 tags and filenames in such a way as to have the tracks show up
in order when listed. I then stowed these onto a 30GB hard drive I
had bought for just that purpose, under an ext2 filesystem (soon to
be ext3). cdparanoia was run like this:
cdparanoia -zX [tracknum] tempcdda.wav
notlame was then run like this:
notlame -v -V 1 -B 320 -p tempcdda.wav [outputfile]
(I also set the track name, the artist, album, year, and track number,
but I've omitted these here)
I used a Creative Labs 52X CD-ROM for this task, but it had some problems with a couple of discs. In these cases, my Creative Labs CD-RW 10/12/32 worked just fine.
As I was ripping these tracks, I was storing them into an overworked Pentium Overdrive 83 with ISA network and hard drive controller cards. This was painfully slow to work with (typical 600K/sec over the network, and it would have to take turns with the hard disk), so I decided to build the new box. At a minimum, it would need to be able to run liveice and icecast, which would require at least a 100Mhz processor. I decided that I'd also like to be able to play DVDs eventually, which raises the minimum to 300-400Mhz. I ended up settling on a Duron 850, which is overkill, but it works nicely. (I realize that the details in this document have only a limited period of usefulness as new motherboards and processors come out, but I'm sure that some of this information will have lasting value.)
There were other considerations besides the processor, however. I felt that this machine would really be a piece of audio equipment at heart, a bit like one of those massive CD-changers. So I wanted it to fit on top of the amp I'm using, which is about 16.5"Wx13.5"Dx5"H. In an age where the typical case is a medium tower, this proved to be the hardest part: finding a small case (for FlexATX or MicroATX) and a motherboard that would fit, for a reasonable price, which would work well under Linux.
I considered various Amptron/PCChips motherboards (m586lmr, m810lmr), some from AOpen, the PIII-3754LM motherboard, some i810e boards, and the Asus CUSL2-M i815e board. I've always been a fan of Asus, so the Amptron boards looked inferior (and it turns out from benchmarks I've read that they do not perform as well) but I was looking for a board that would require me to add as few PCI cards as possible (some of the cases I looked at for this form factor would only allow one or two risers). Features I looked for included IrDA, integrated network, integrated sound, integrated VGA, and TV- or LCD-out. Support under Linux for the integrated components was also critical.
I ended up with the following parts: a CS-A101 case, which is Micro-ATX, only 13"x13"x5", and comes with a 150W power supply (which is enough); and in this, I put an Amptron K7-810LMR motherboard (a.k.a. M810LMR, I think) with a Duron 850. The motherboard has a 10/100 network controller integrated; the chipset is sis900 which was detected easily by the RedHat 7.1 installer and I can pull 11MB/sec through it (though the 6.2 installer didn't find it; the closest it had was a Realtek controller that wasn't close enough). It has integrated sound that was found using sndconfig in RedHat 7.1, but I've read that the quality is poor, so I bought a SoundBlaster Live! 5.1 to fill one of the two PCI slots. There is a header for IrDA, but they seem to have used a non-standard pin arrangement, so I may be without infrared for a while (the IrDA module was not included with the motherboard).
Other cases that I considered include the Directron V2000 which is FlexATX (it looked good, but was too deep); some from AOpen, some BookPC models (but I'd rather put in higher quality sound and video cards), and some small cases from Chieftek and Chenbro (but for these, I couldn't find anybody that actually sold the cases).
Right now, the system is running well, serving MP3 files over samba to my desktop machine that is hooked to the stereo, and also running liveice and icecast to continuously stream music (I've got the init scripts set up to restart liveice and icecast upon reboot, and liveice gets dumped to /dev/tty1 in case I want to hook up a monitor). I'm using a copy of liveice that I modified that allows it to start in random mode, so no user interaction is needed.
The next step is to drop in the new sound card so that the box can play directly to the stereo. For this, I expect to install a minimal X-windows system so I can run xmms; the crossfade plugin is very good at preventing skips, and runs live tracks together seamlessly, so I see no better solution. At that point, I'll be writing some scripts to take input (via sockets, or IrDA if I find a module, or even voice commands using sphinx2) and using those to control xmms (which responds nicely to command-line parameters even if it is already running).
Once that step has been achieved, I expect to drop in a DVD drive and an AGP card with a TV-out (since the motherboard does not have one) and set up the system to do DVD playback using one of the Linux DVD projects. The DVD drive will also enable the system to rip CDs on its own, instead of having them passed in via the network. Supposedly, the SiS chipset that is on the motherboard I am using has a hardware DVD decoder in it, and that Linux support is forthcoming, which may keep the CPU load (and thus, the heat) down. The extra money I paid for the SB Live! 5.1 will hopefully lead to Dolby 5.1 audio from the DVDs, but I'm not sure yet if that will happen. If nothing else, there are expansion ports available for the SB Live that would enable me to use optical in/out, so I don't mind the expense.
My only complaints about the system so far are that the Duron 850 is really quite a hot chip, and as a result, I will probably need an extra case fan. I had hoped to run the system as quietly as possible, and considered underclocking the processor to be able to slow or stop the CPU fan, but the chip idles around 41 Celcius. Also, I am unable to get the motherboard sensors to appear under RedHat 7.1 using the default set of kernel modules. If I can get control over the fans, then I plan to adapt their speed to the temperature in the box.